Building the Node Card: Putting My Own Documentation to the Test
When I finished writing the Node Card Assembly Guide for the LCC Fusion Project, I was eager to see how well it would hold up for a real-world build—especially since I authored the documentation myself. This post details my experience using my own instructions to assemble the Node Card for the first time. Unlike other projects that focus on signaling control, this initial Node Card is all about establishing a solid foundation for power distribution and networking in an LCC-based setup.
Ordering the PCB and Choosing Your Configuration
Since I’d already created and provided Gerber files in the documentation, ordering the PCB was straightforward. I simply uploaded the files to my preferred PCB manufacturer and waited for the boards to arrive. Once they shipped, I turned to the Assembly-Configuration Options section of my guide to decide which configuration would best serve my test build:
- Required Components: Naturally, I included all the must-have parts—voltage regulators, power protection, and the ESP32 DevKit module—to ensure the Node Card’s core functionality.
- Optional CAT-Wired CAN BUS Option: For my first build, I chose to include only the CAT-Wired CAN BUS Option. This would give me interoperability with other commercial LCC Nodes via a standard CAT cable—a key feature I wanted to confirm worked seamlessly.
I also printed out the assembly configuration diagram from the guide in color, so I could easily match each color-coded area to the corresponding table entries during assembly.
Sourcing Components: Following My Own Parts List
Next, I referred to the Components section of my documentation to gather every part I needed. The PCB Components page—listed under Builder’s Resources & Tips—proved extremely helpful, with direct links and pricing information. Even though I wrote it, I was pleasantly surprised by how easy it made the ordering process. I also printed the PCB image and components list using the printer icon on the right for a quick visual reference while I worked.
Prepping the Workspace and Assembling the Board
With everything on hand, I set up my workspace and followed the steps outlined in my own guide:
- Cleaning the PCB: I used isopropyl alcohol to remove any dust or residue, ensuring a smooth surface for soldering.
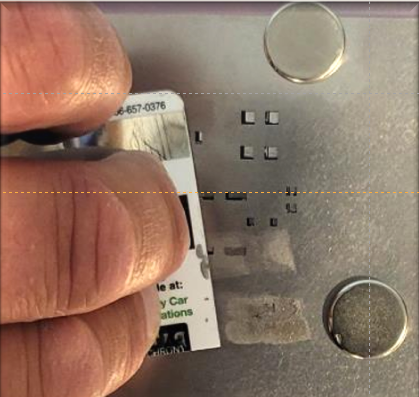
- Aligning the Solder Paste Stencil: The documentation mentioned the two small tooling holes for alignment, and sure enough, that tip helped me avoid misalignment issues with the stencil.
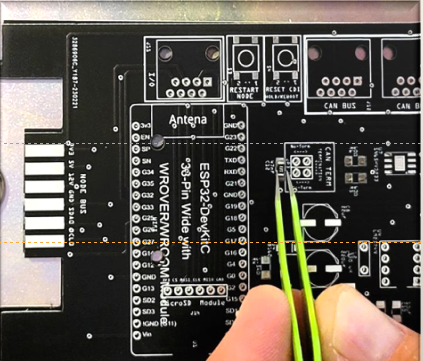
From there, I began placing components according to the silkscreen and designators. I took extra care with polarity-sensitive components like diodes and tantalum capacitors, referencing my own instructions to confirm orientation.
Configuration, Testing, and Troubleshooting
Once assembly was done, I moved on to testing—again guided by the steps in the Node Card Assembly Guide:
- Configuration Confirmation: I revisited the configuration table to ensure I’d implemented the CAT-Wired CAN BUS option correctly alongside all required components.
- Voltage Checks: A multimeter confirmed that the 3.3V, 5V, and 12V rails were within expected ranges.
- Firmware Boot-Up: Using the serial console to monitor the ESP32’s startup messages, I verified that both the CAN and I2C interfaces were recognized and functioning.
Even though I wrote the documentation, I still encountered a couple of minor hiccups—mostly around rechecking solder joints. However, the troubleshooting tips I’d included in the guide quickly got me back on track.
Final Thoughts
Building the Node Card using my own documentation was a gratifying experience. Not only did it validate the clarity and thoroughness of the Assembly Guide, but it also highlighted small areas I could improve in future revisions—like adding even more visuals for certain tricky solder points.
From ordering the PCB using the Gerber files to confirming the CAT-Wired CAN BUS Option worked for interoperability, the Node Card Assembly Guide provided a clear roadmap from start to finish. If you’re about to build your own Node Card, I hope my experience—and the documentation itself—helps make your journey just as smooth. Feel free to share your own build stories or questions in the comments!
Happy building, and stay tuned as I continue to refine and expand the LCC Fusion Project documentation!